In this post we’ll be revisiting Azure Arc to onboard machines at scale using a service principal. If you haven’t already, have a read through my Onboarding Non-Azure Machines to Azure Arc post. This goes into greater detail about Azure Arc and the requirements for deployment. Machines can be onboarded to Arc either interactively (one machine at a time) or at scale (multiple machines). This post focuses on the latter, streamlining the onboarding process by utilizing a service principal for authentication.
What is a Service Principal?
A Service Principal is a security identity in Microsoft Entra ID (formerly Azure Active Directory) designed for applications, services, and tools to access Azure resources. It enables machines to authenticate to Azure at scale, removing the need for traditional user login credentials.
When configured, it enhances security by adhering to the principle of least privilege. This means the identity only receives the necessary privileges (in this case Azure Connected Machines Onboarding role) required to connect machines to Azure. This granular level of access control minimizes the impact of a compromised identity.
Creating a Service Principal
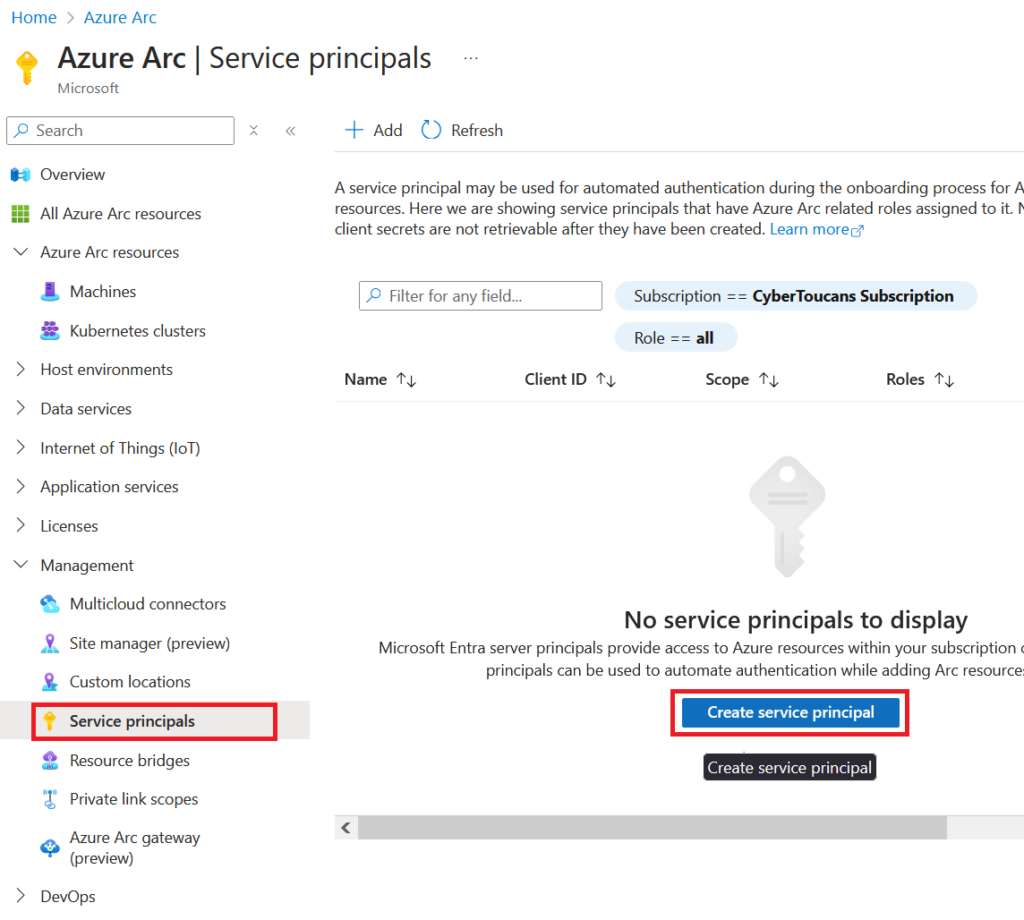
To create a service principal within the Azure Portal start by navigating to Azure Arc, expand the Management blade and select Service principals. This screen initially will be empty. Select Create service principal.
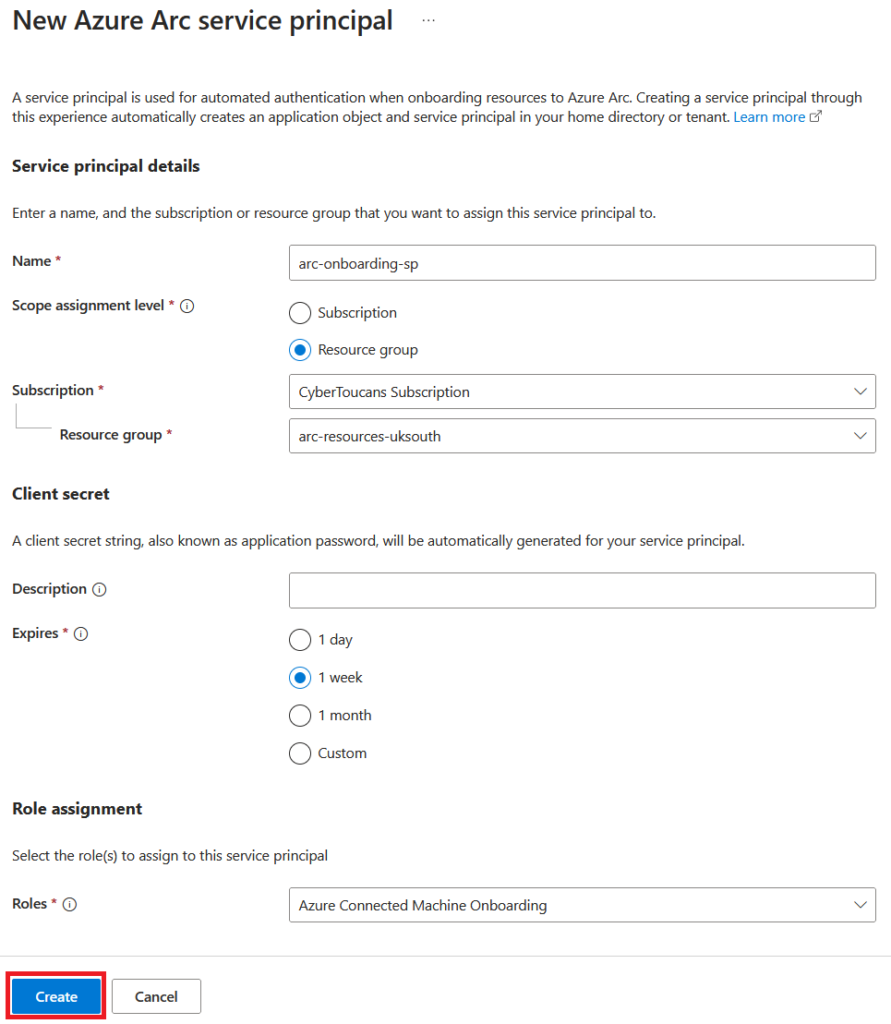
Complete the details for the new service principal. We’ll set the scope to the same resource group our machines will be onboarded to. By confining the scope to a resource group, it ensures that the service principal will only interact with the resources it needs (minimizing any potential risks!).
For Role assignments ensure you assign the Azure Connected Machine Onboarding role. This gives the service principal the required permissions for onboarding. If you plan on performing operations on the machine (such as deploying extensions) then also assign the Azure Connected Machine Resource Administrator role.
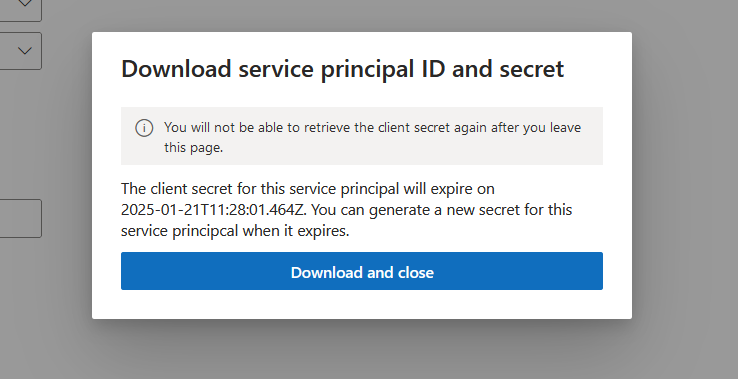
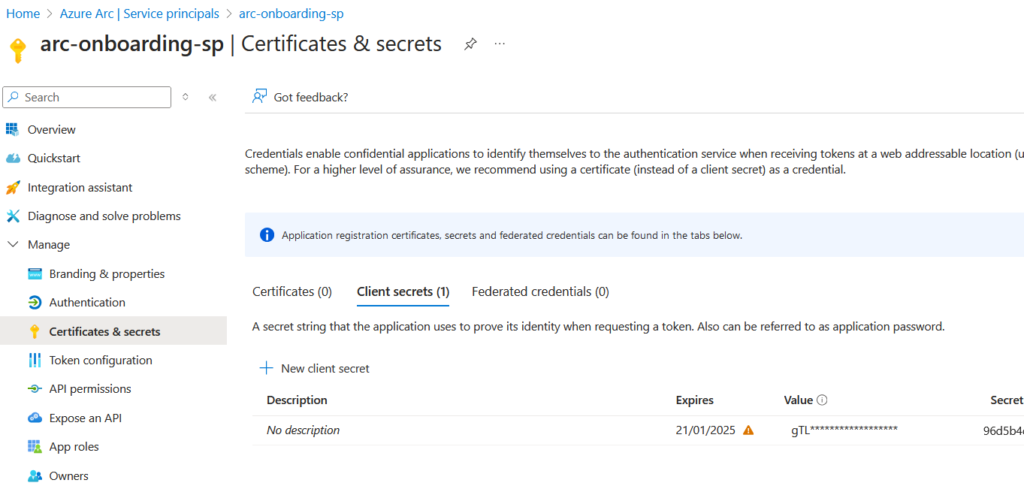
After creating the service principal you must download the servicePrincipal.txt file containing your principal ID and client secret. Do not skip this step as you won’t be able to retrieve the secret later on. Store this file in a secure location.
With the service principal created, we can move onto generating the onboarding script.
Generating the onboarding script
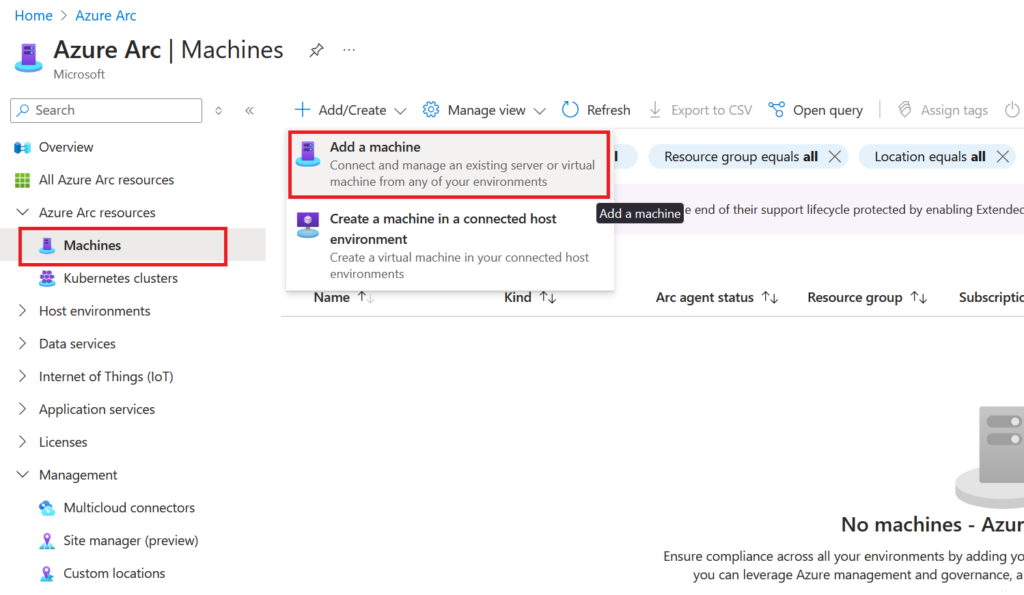
From the Azure Arc screen, select Machines under the Azure Arc resources blade. This inventory screen will contain our onboarded machines. From the top navigation bar, select Add/Create and then Add a machine.
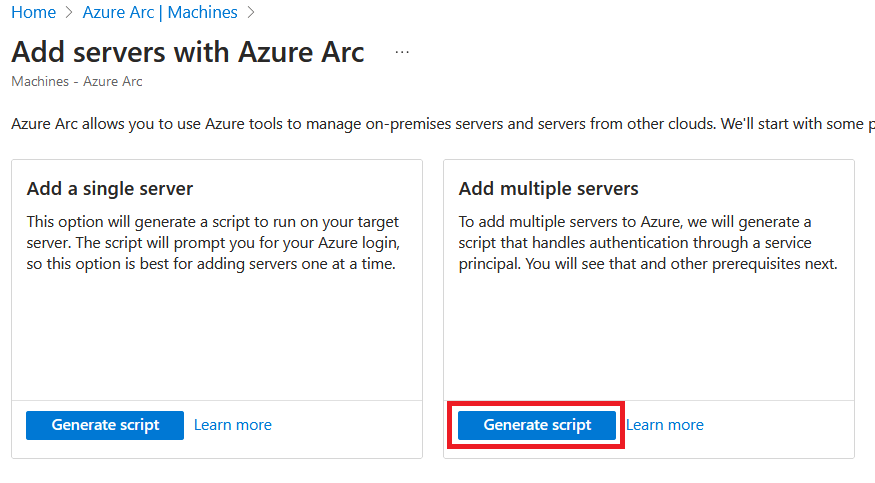
Under Add multiple servers select Generate script.
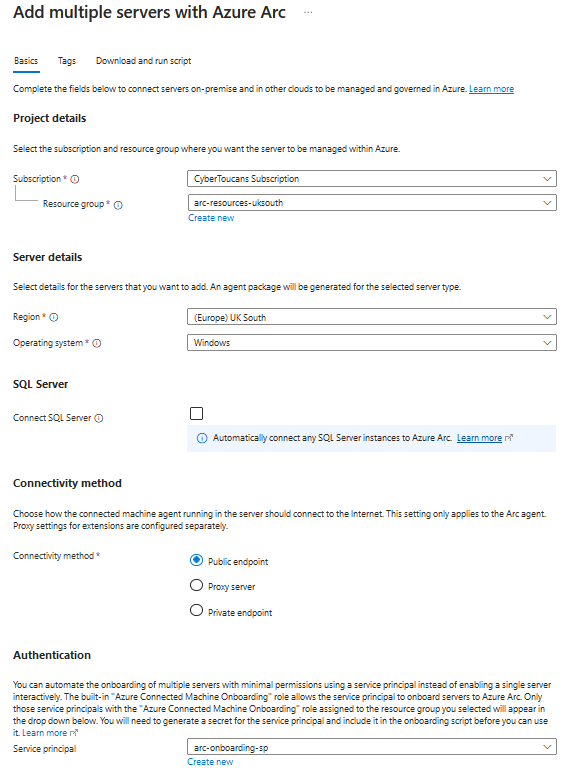
Provide details on the Subscription, Resource Group, Region, Operating System, and Connectivity Method. If using a proxy or private endpoint review the Network requirements documentation. Under Authentication select the newly created service principal. Once completed, select Download and run script.
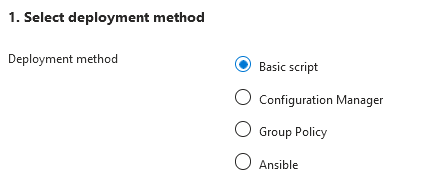
The script is now ready for deployment. For this post we’ll be deploying a Basic script.
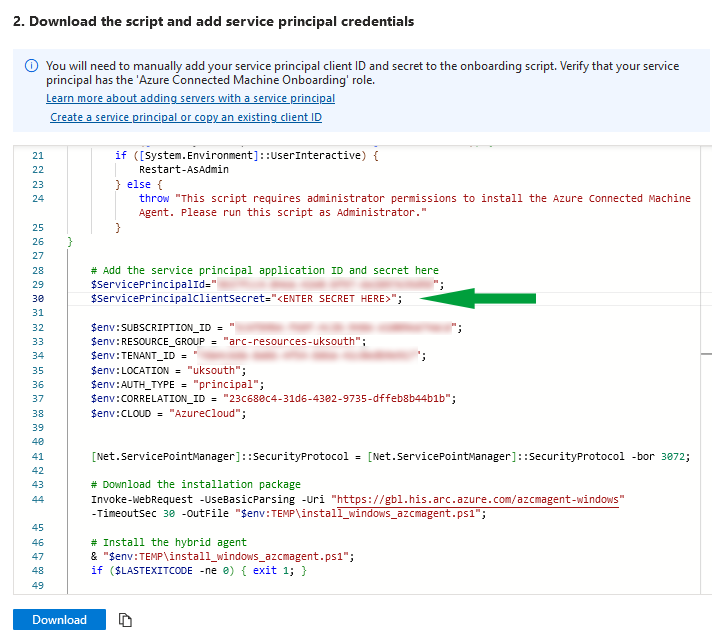
Before running the script, update the $ServicePrincipalClientSecret variable with the service principal secret from the servicePrincipal.txt file. You can do this by using a text editor or by using PowerShell.
Running the onboarding script
Run the updated script (containing the client secret) on the target machine using PowerShell. The script starts by installing the Azure Connected Machine agent, before connecting the device to Arc and using the service principal to authenticate.
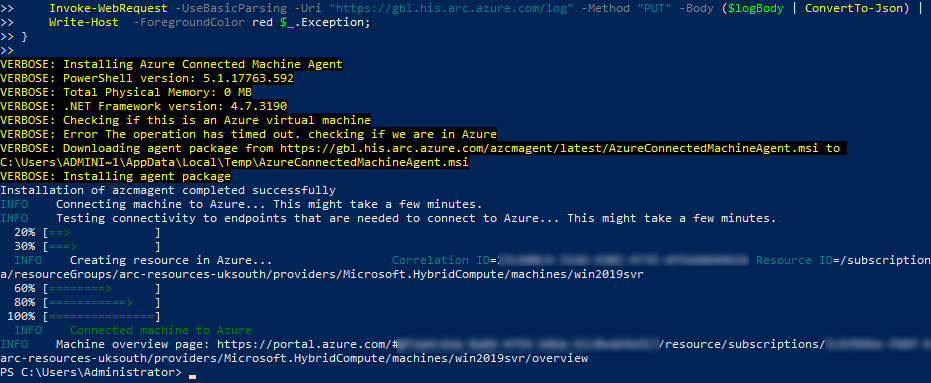
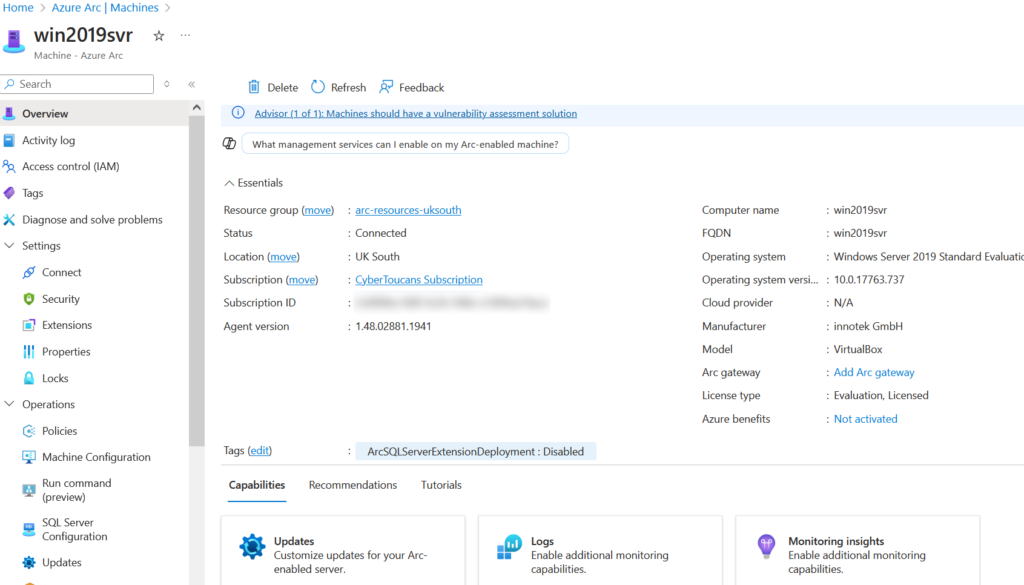
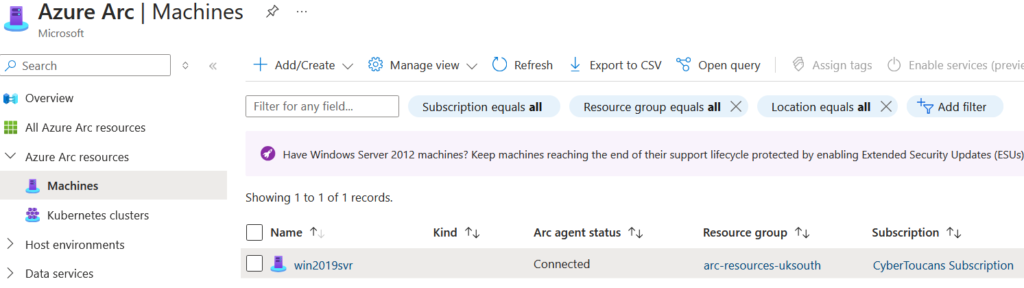
After several minutes the script completes the onboarding process. Navigate back to Machines in the Azure Portal to see the device.
Connectivity can be verified on the target machine with the following PowerShell command:
azcmagent show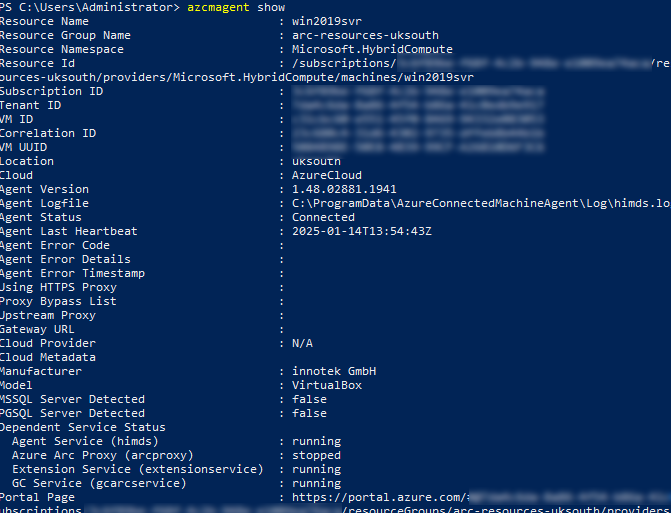
Next steps
With the machine onboarded to Azure Arc, you can start to explore the free services available for inventory management, administration, and automation. Many operational functions are available to govern, protect, configure and monitor your devices effectively.